
Using group locker
How do I use Lockers in a group?
Teachers can create Group Lockers. In a Group Locker, you can easily and quickly share and edit files with your group.
- Navigate to ‘Course Management‘ in a course and then click on ‘Groups’.

- Click on ‘Group Files’ of the group whose locker you want to view to open the locker.
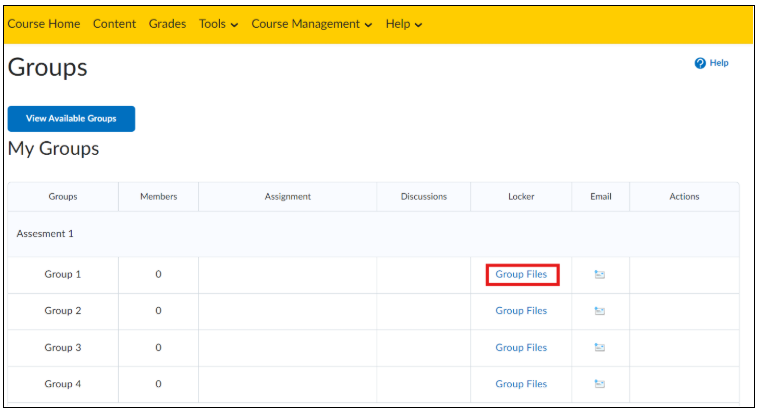
Note: If there are no Group Files listed in the Locker column, the teacher has not created any Group Lockers.
A Group Locker looks like this and contains the following components.
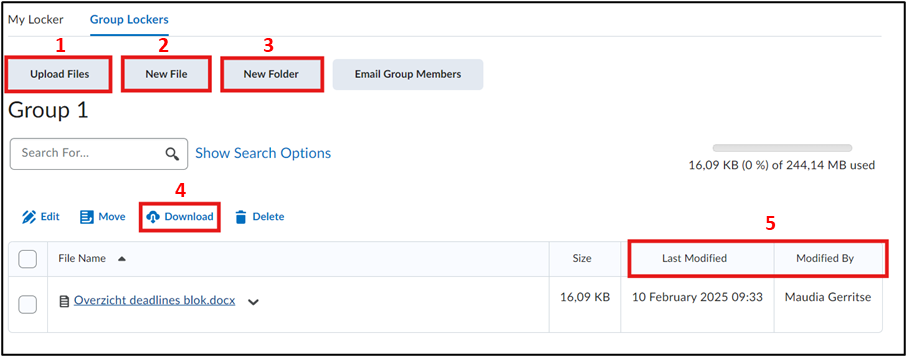
- ‘Upload Files’: Group members can upload files here (documents, videos, images, etc.).
- ‘New File’: Group members can add new files here.
- ‘New Folder’: Group members can create folders and HTML files here to organize the content of the Group Locker.
- ‘Download’: Group members can download files from the locker to open, edit, and provide feedback to others.
- ‘Last modified’ and ‘Modified by’: Group members can see when a file was last edited and by whom.
Note: Files are only available to students who are part of the group and cannot be made publicly accessible.